Mastering Roblox's *Pressure* hinges on understanding each monster's unique behavior to conquer every room. Some share similar strategies, while others require specific tactics. This guide details every monster in *Pressure* and how to survive their encounters.
Recommended Videos
Table of Contents
-----------------
How to Survive All Monsters in Pressure
Pandemonium
Good People
Eyefestation
Squiddles
Locker Void-Mass
Wall Dweller
Redeemer and Hanger
Candlebearers & Candlebrutes
The Angler
Pinkie
Froger
Chainsmoker
Blitz
Bottomfeeder
The DiVine
How to Survive All Monsters in Pressure
This guide outlines strategies for defeating every monster in Pressure. Some are random encounters, others are Node monsters following specific paths, and some, like The DiVine, inhabit specific areas like Oxygen Gardens. I'll detail how to handle each, highlighting key cues to ensure timely escape. Remember: avoid prolonged hiding to prevent Cleithrophobia from forcing you out prematurely. Instead, focus on recognizing each monster's unique warning signs.
Pandemonium
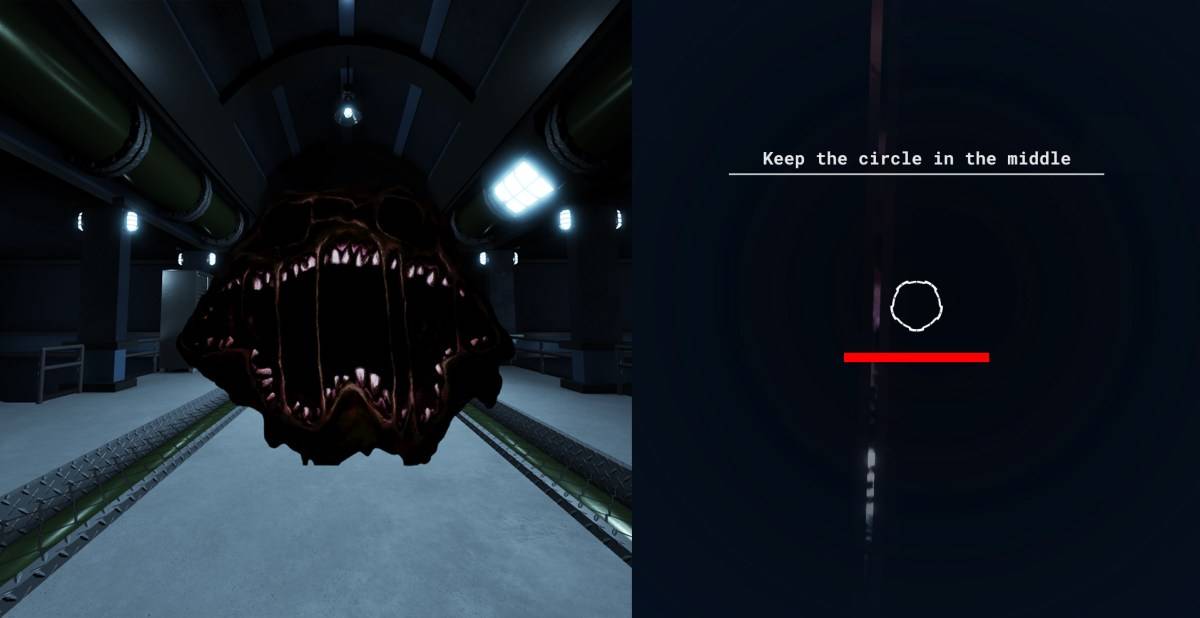
Image by The Escapist
Flickering lights signal a possible Pandemonium spawn. Don't immediately hide; instead, position yourself near a locker. Wait for its roar. Pandemonium instantly kills anyone in its line of sight outside a locker. Entering a locker triggers a minigame: keep your cursor centered as the locker shakes. Survive the minigame, survive Pandemonium.
Good People
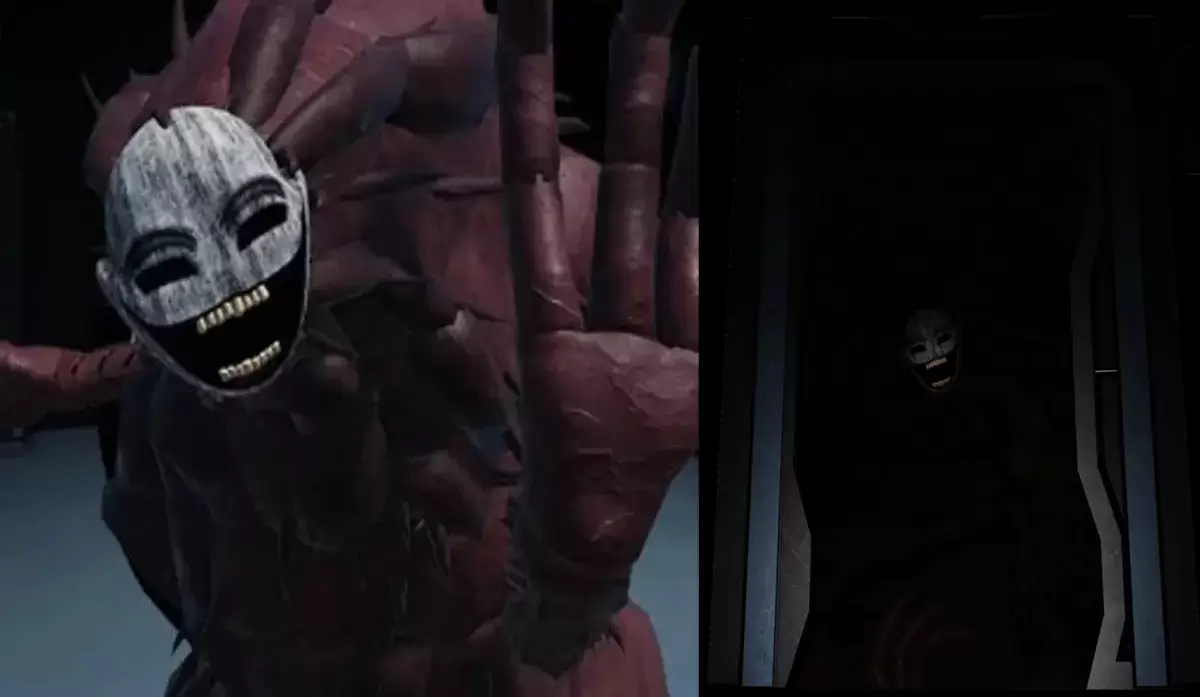
Image by The Escapist
Good People spawns in rooms with dead-end doors, one being a Fake Door. Entering it results in an instant kill. Remember these cues:
Fake Door Cues: Listen for breathing, growling, sparks, or faint scanlines on the navi-path sign near a door before opening it.
Dark Rooms: In dark rooms, Fake door navi-paths remain lit, while real doors remain dark.
HQ Messages: If HQ suggests a path without specifying incorrect routes, prioritize checking for Fake Doors.
Eyefestation
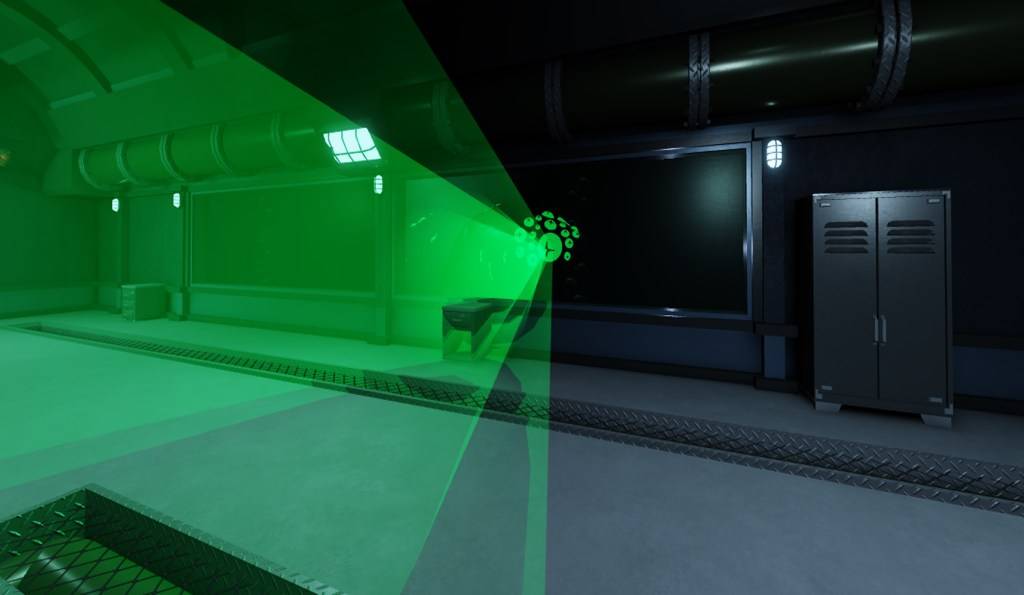
Image by The Escapist
This shark-like monster appears in rooms overlooking the ocean. Avoid eye contact through the window; it drains HP. Simply leave the room without looking to despawn it.
Squiddles
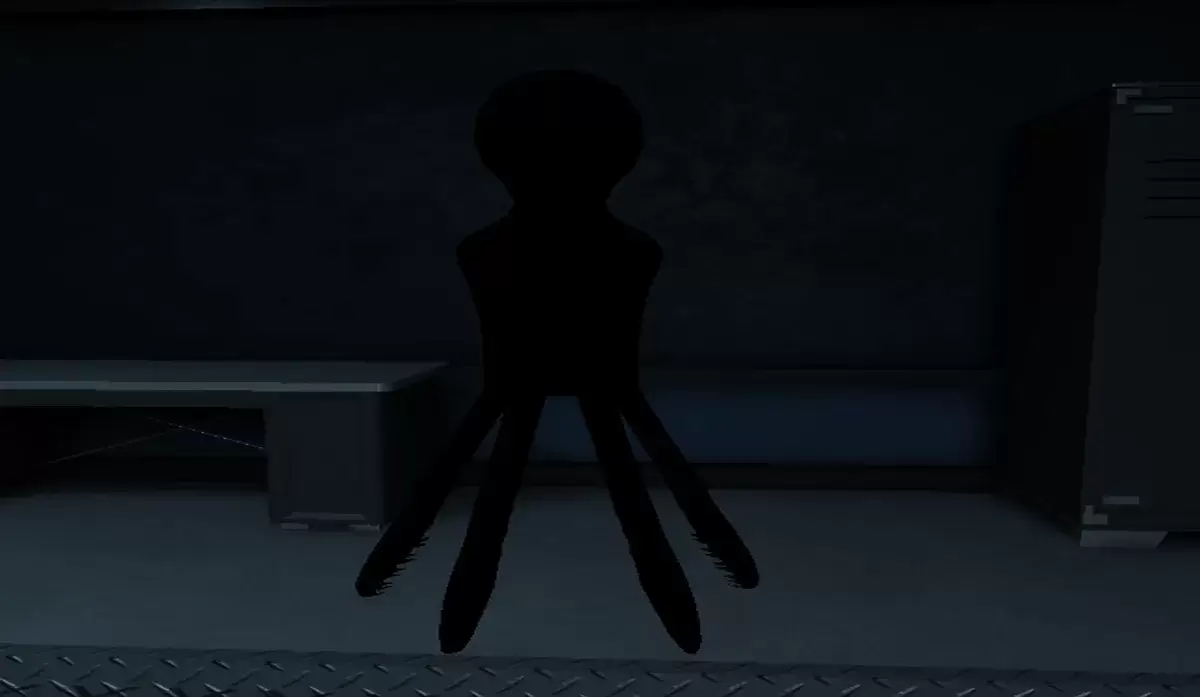
Image by The Escapist
Turn off your light when you see them and maintain a safe distance. They appear in dark rooms. Simply switch off your light and carefully move past them.
Locker Void-Mass
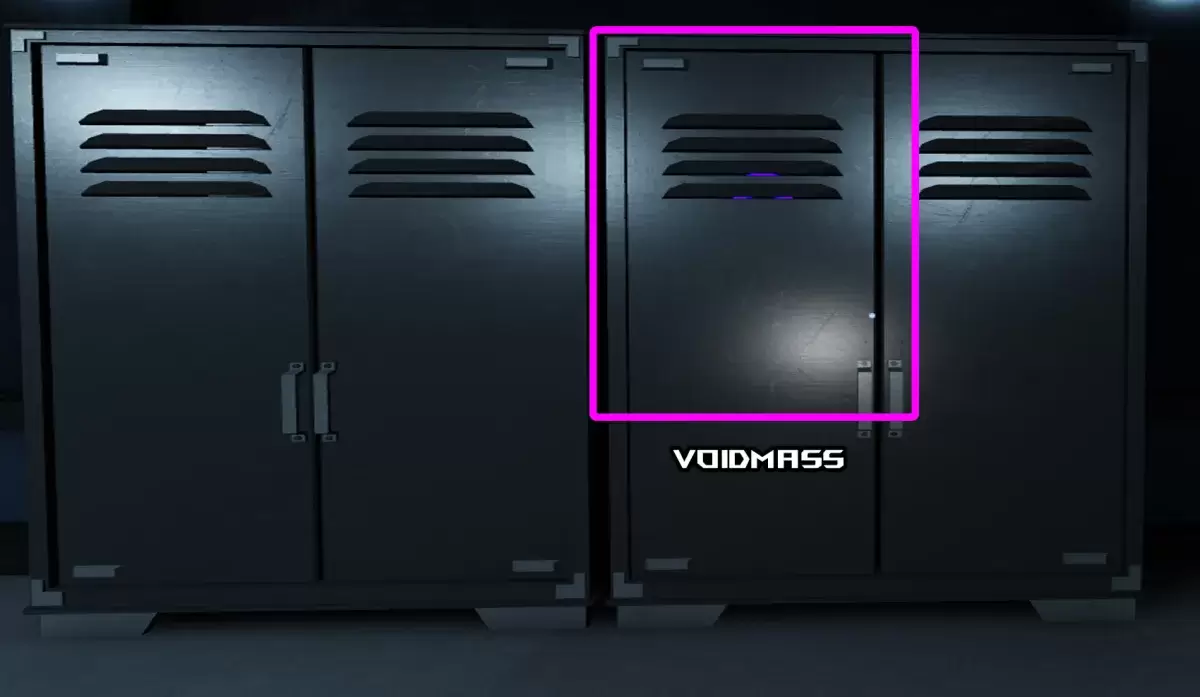
Image by The Escapist
These slimes spawn randomly in lockers. Entering an infested locker causes damage and entrapment. Check for purple slime before entering. Trapped players take continuous damage until rescued or killed.
Wall Dweller
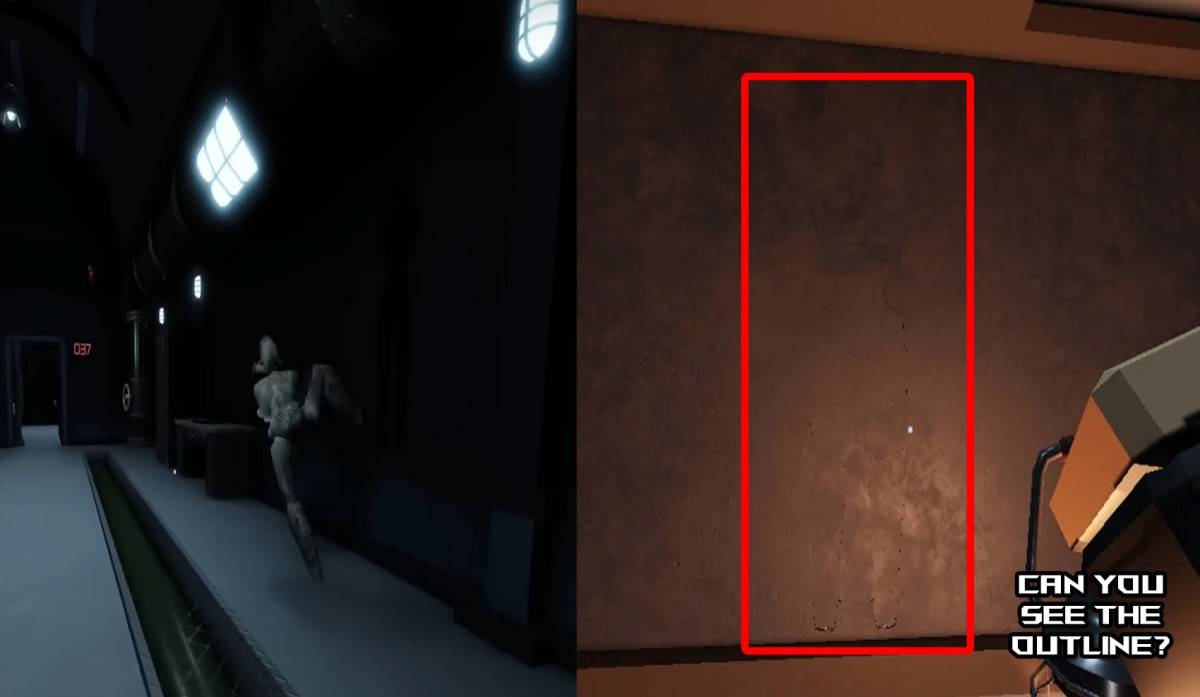
Image by The Escapist
These spawn in walls, emerging unexpectedly to insta-kill. Listen for out-of-sync footsteps. Turning around causes them to retreat. Baiting them into attacking allows teammates to kill them. Note: The Angler (detailed below) kills Wall Dwellers, leaving behind a health-restoring meat chunk (defective if killed by a player).
Redeemer and Hanger

Image by The Escapist
Picking up the Redeemer revolver starts a minigame with the Hanger. Rapidly mashing E resists the Hanger's influence. Success allows you to shoot the Hanger; failure results in self-harm or being stabbed for 20 damage per hit.
Candlebearers & Candlebrutes
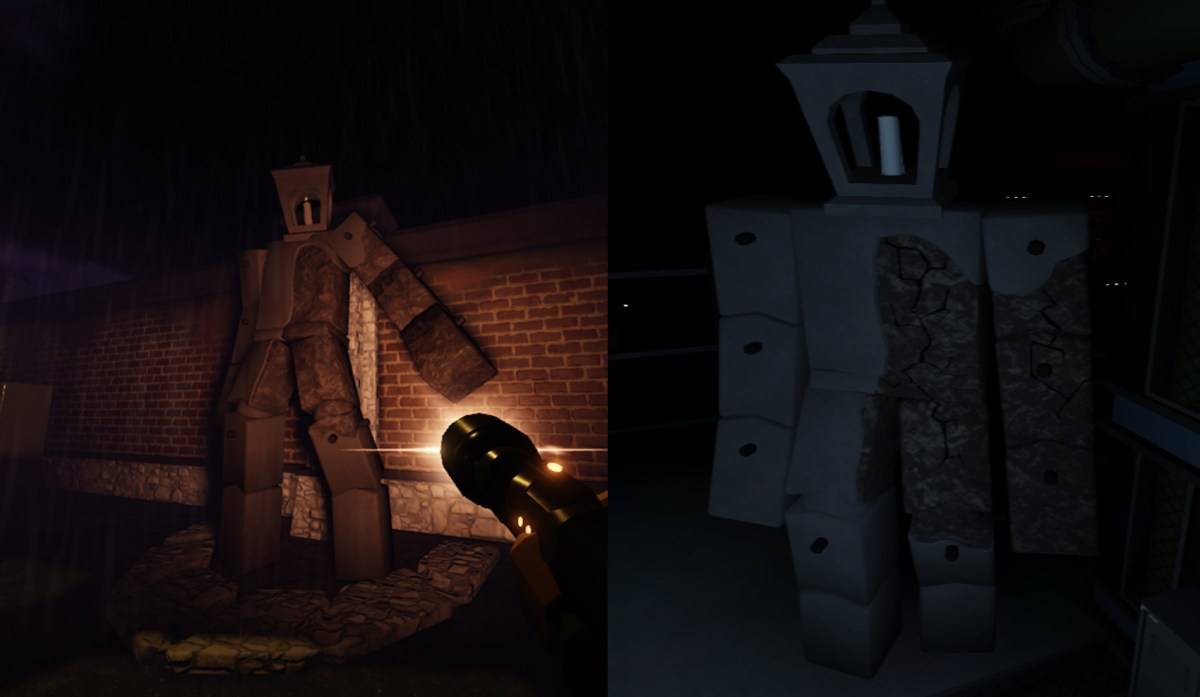
Image by The Escapist
Candlebearers are stunned by light (but don't shine for more than 3 seconds; they'll enrage). Sporadically shine a light to slow them. They deal low damage. Candlebrutes are faster and only slowed by light; shine for up to 5 seconds before enraging. A fully blue light indicates enragement.
The Angler
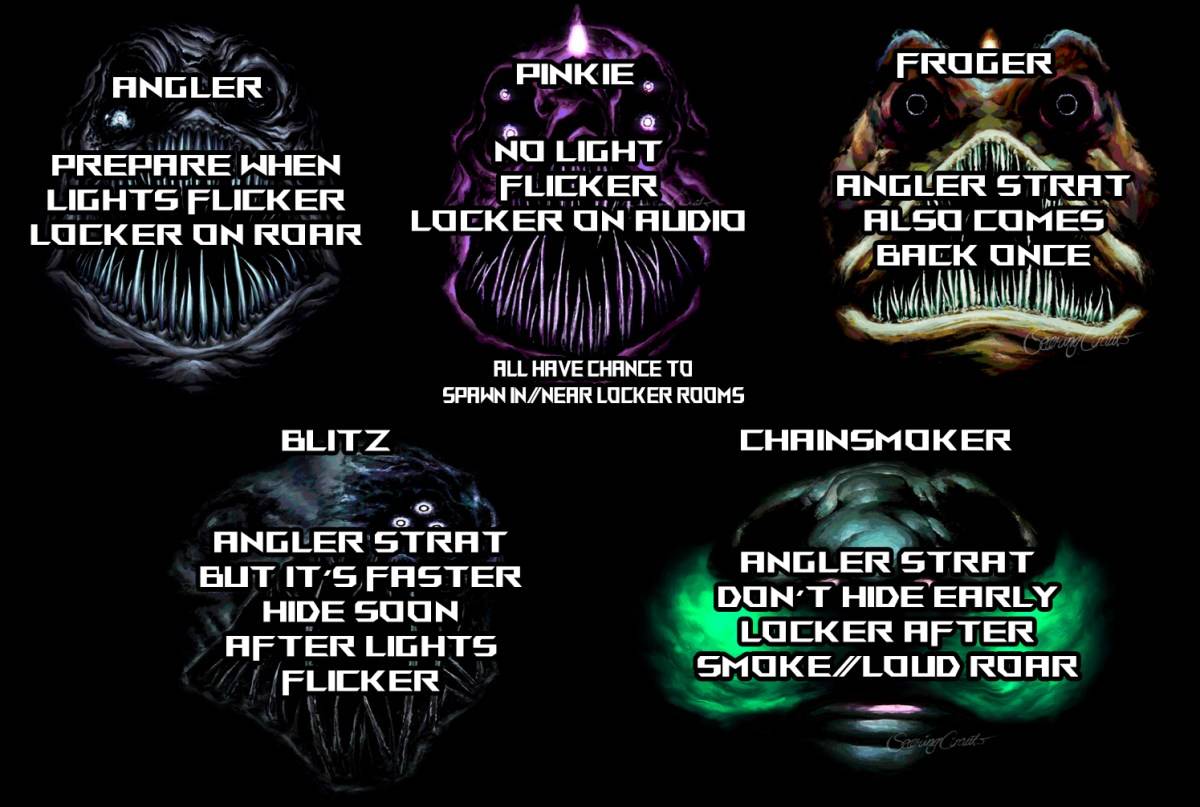
Image by The Escapist
Briefly flickering lights signal The Angler's arrival. Hide in a locker; submerging your head in water also works. It spawns only in rooms with lockers and insta-kills anyone in its line of sight.
Pinkie
Similar to The Angler, but without the light flicker warning. A screech signals its approach; hide in a locker.
Froger
Identical to The Angler (flickering lights and screech), but it rebounds after reaching the end of its path, so be ready to hide again.
Chainsmoker
Flickering lights and rattling chains signal its arrival. It emits green smoke, forcing players out of lockers. Hide when your screen shakes to avoid the gas. It's one of the slowest monsters.
Blitz
The fastest variant. A screech signals its approach, followed by a roar before entering the room – hide immediately.
Bottomfeeder
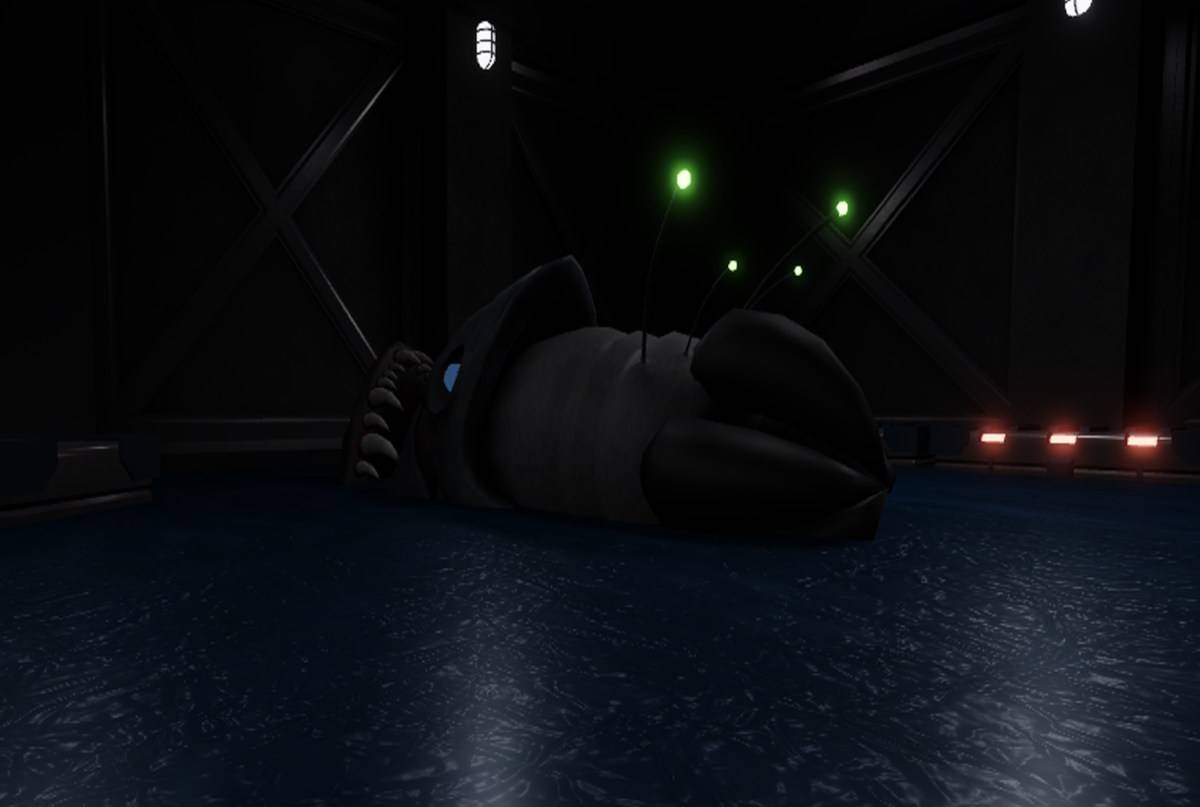
Image by The Escapist
Appears in The Dredge and attacks only in water. Use dry land to evade. If caught, a minigame (mashing Q and E or mobile equivalents) allows escape, but drains health.
The DiVine
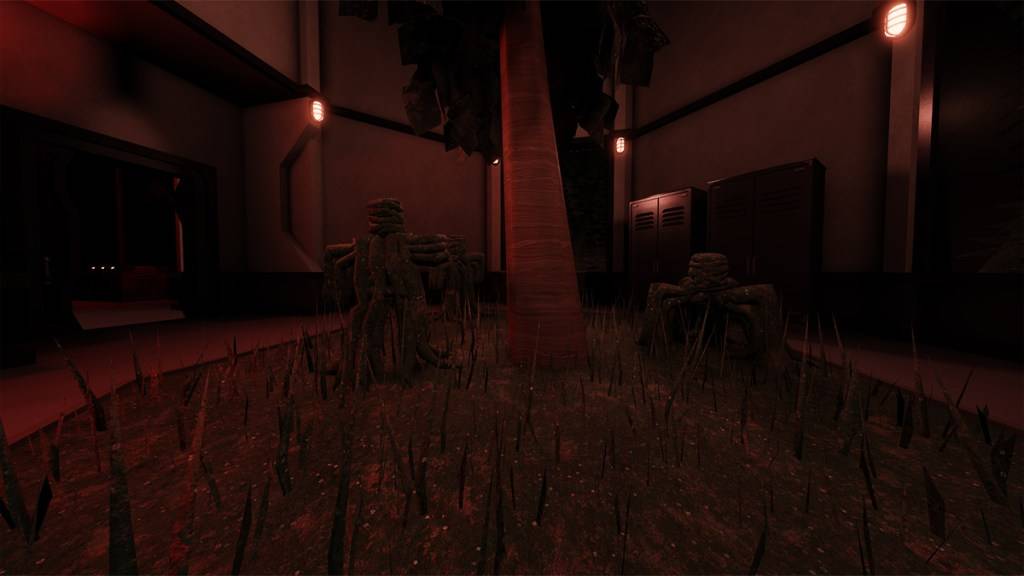
Image by The Escapist
Found in Oxygen Gardens. They're non-hostile unless you step on grass, activating them (75 damage if they reach you). They may combine with other monsters; avoid grass and eye contact with Eyefestation if present.
This guide covers all monsters in *Pressure* and how to survive them. Check out our *Pressure* codes for extra rewards!
![Ultimate Ninja Time Clans Guide and Tier List [RELEASED]](https://img.ggppc.com/uploads/58/174036603067bbe0ce7e3e6.jpg)
![Complete Hollow Era Shikai Tier List and Guide [RELEASE]](https://img.ggppc.com/uploads/74/174159722567ceaa29b17d6.jpg)